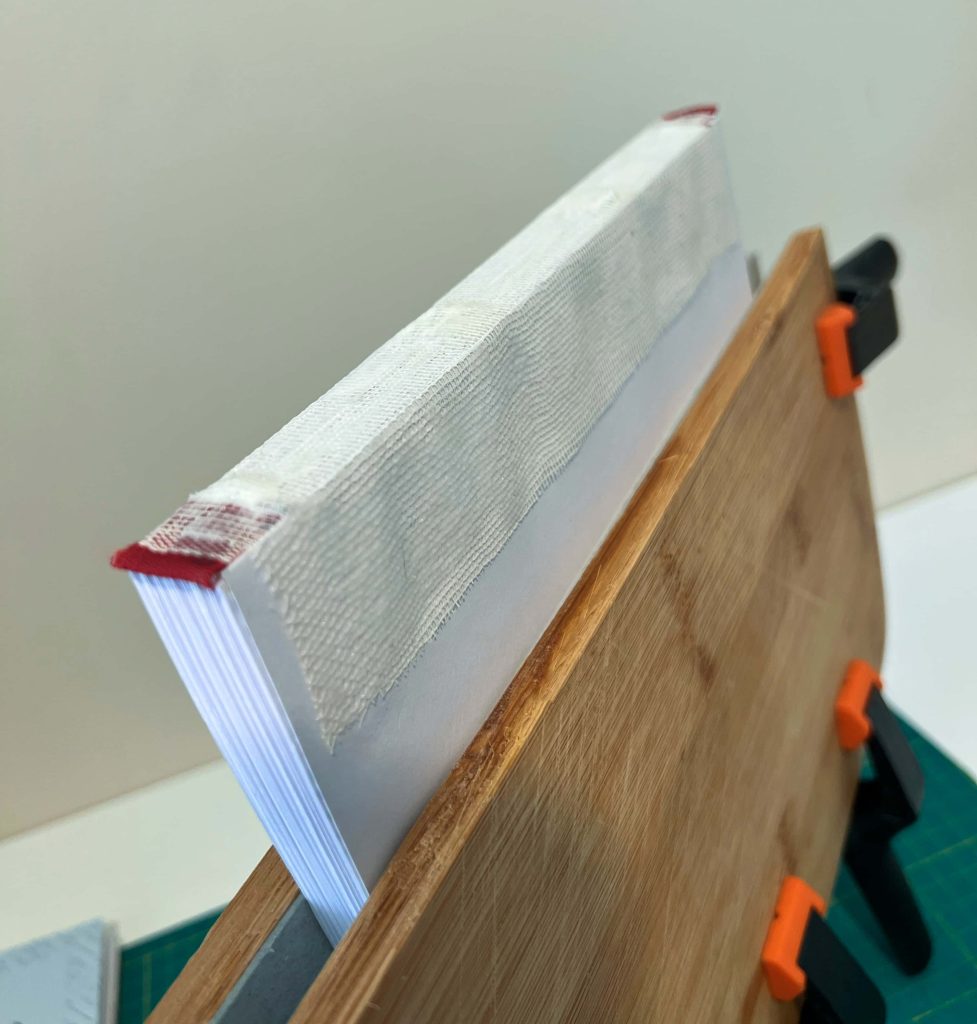
Probably should have read a bit further ahead as I missed a step at the end of stage 2, add glue to the spine. I did this yesterday and then left it to dry overnight.
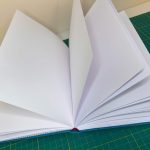
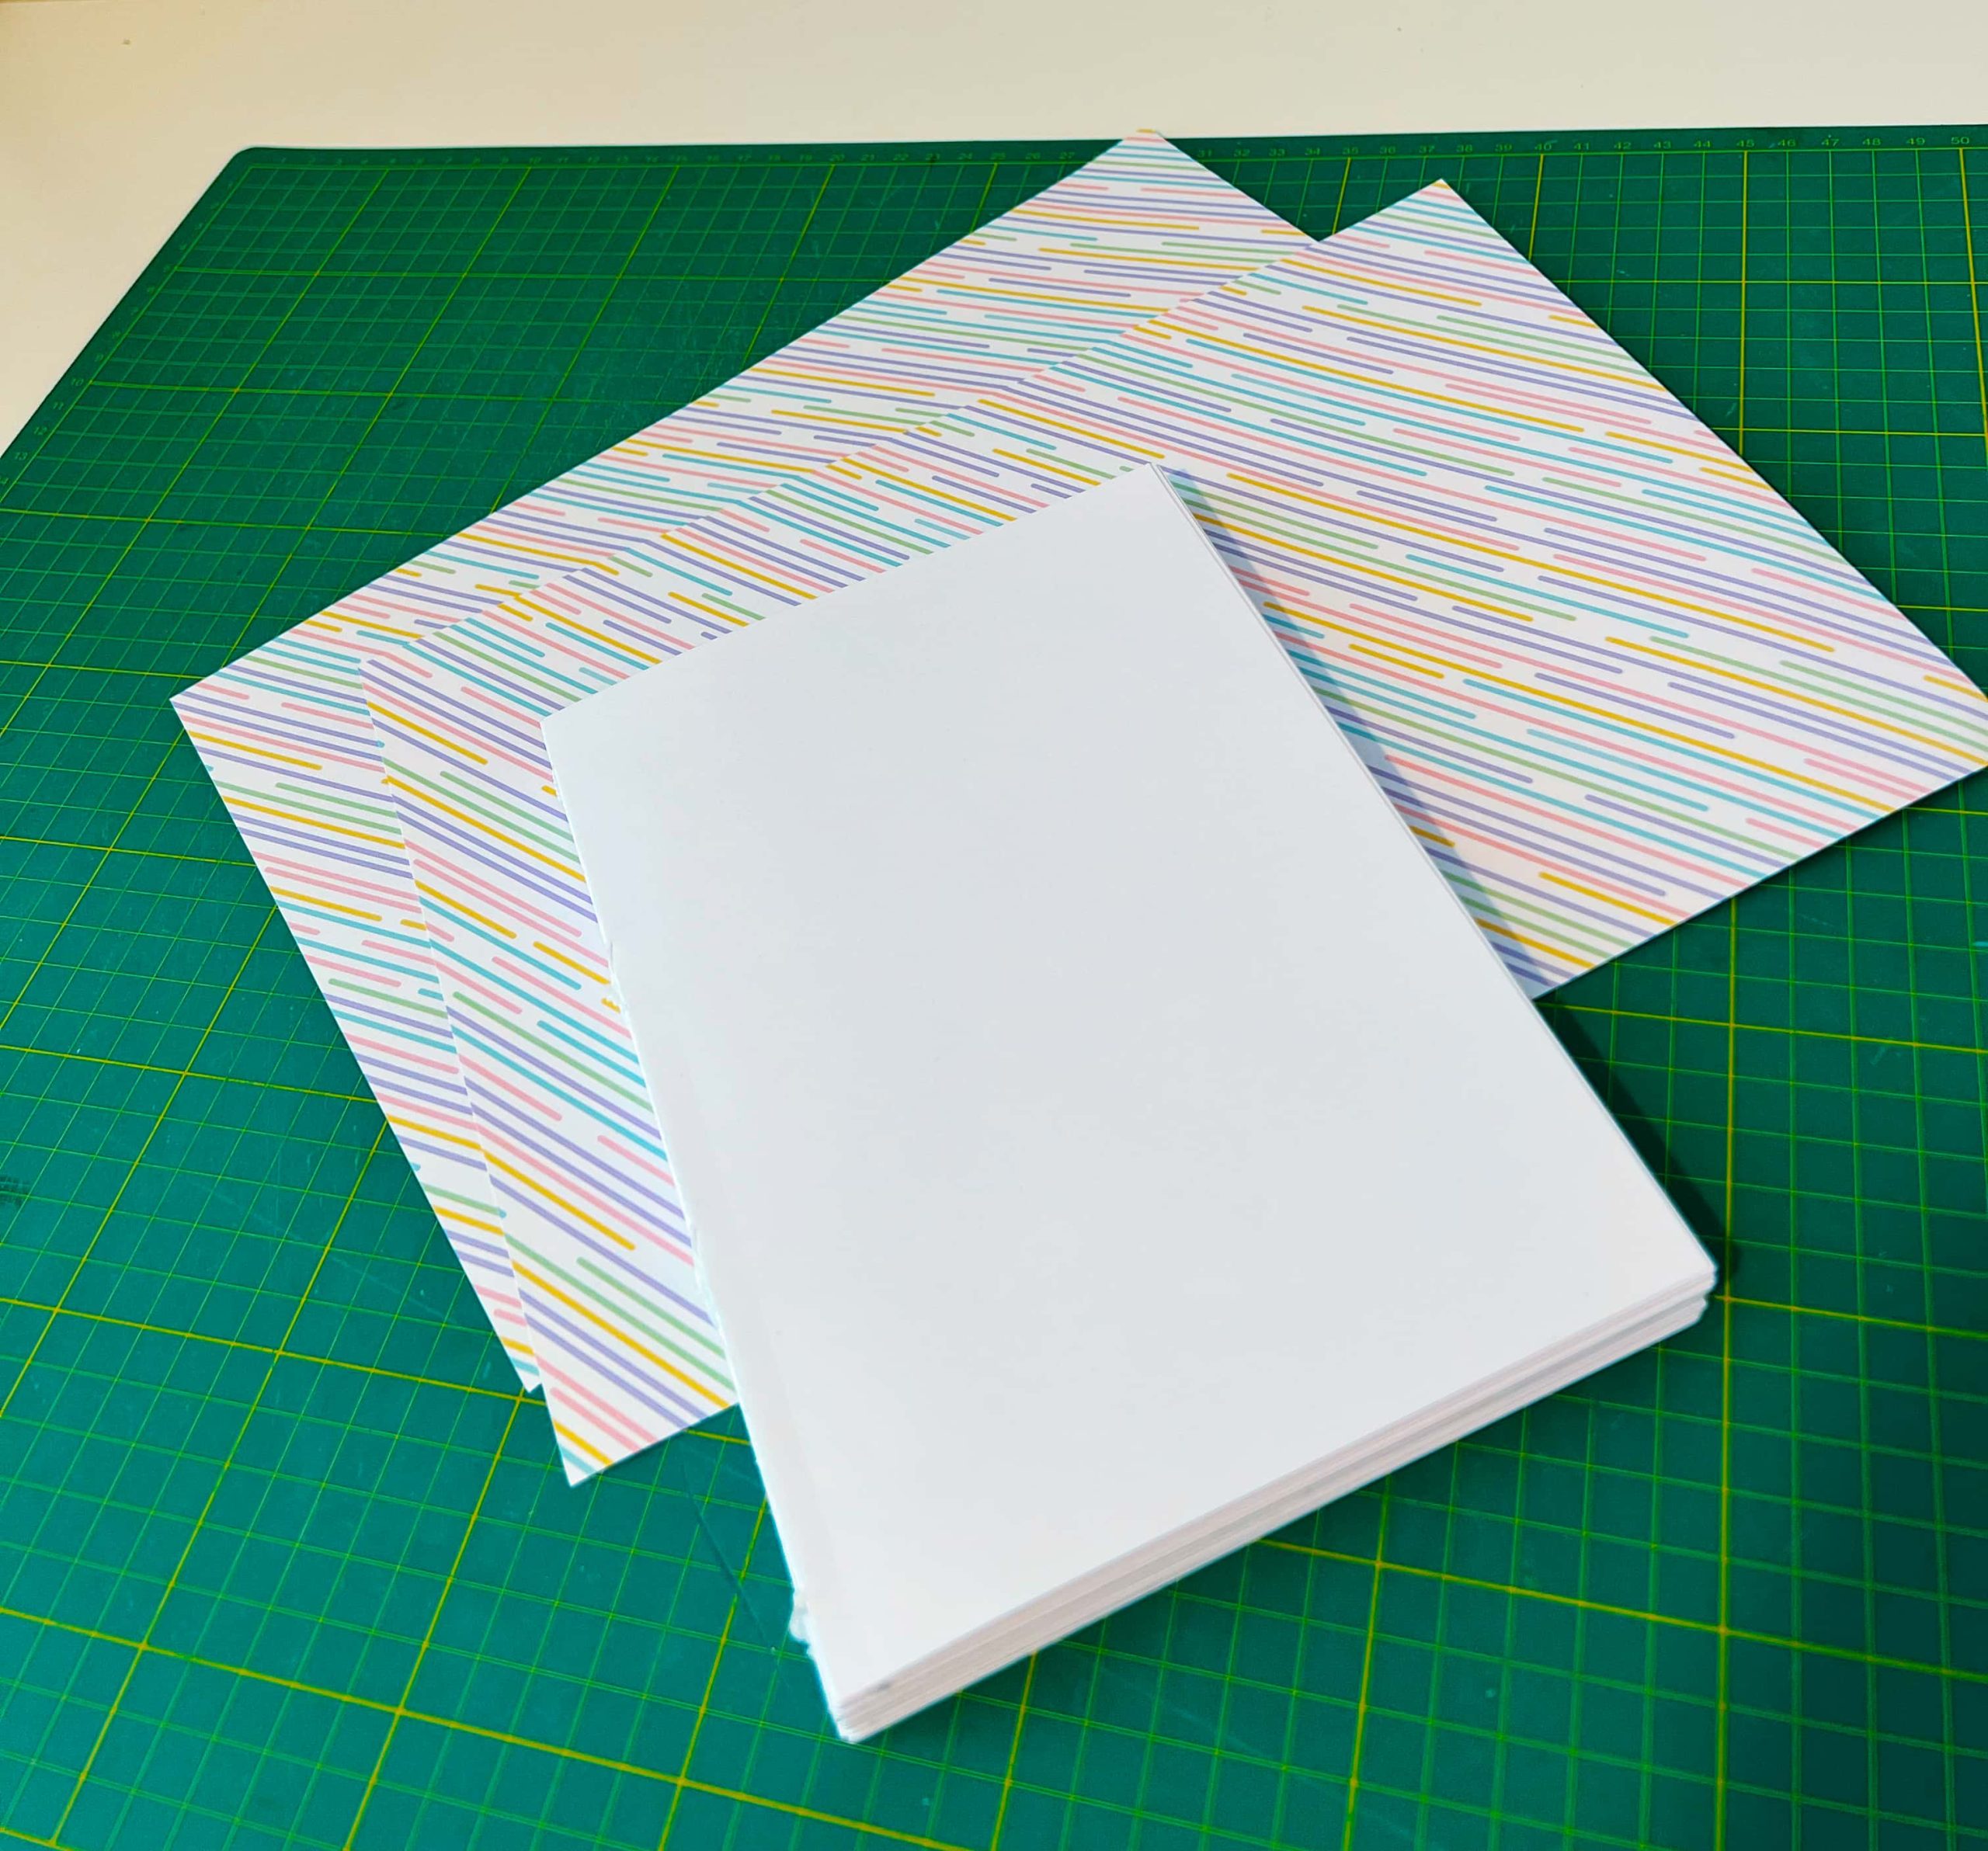
Now it was time to select the end papers I wanted to have in my notebook. I think I chose the ones that worked best with chosen colour of the finished notebook (not shown in the image below, but I am using the same blue cover that I had on my Red Dwarf Project). The end papers were glued to the book block and left to dry for a while.
The next stage according to the book is to add a headband and ribbon. In the book, instructions are given on how to make your own, but I had already purchased a packet of various colours to use in future projects so I just selected the one I thought went best with the future cover colour.
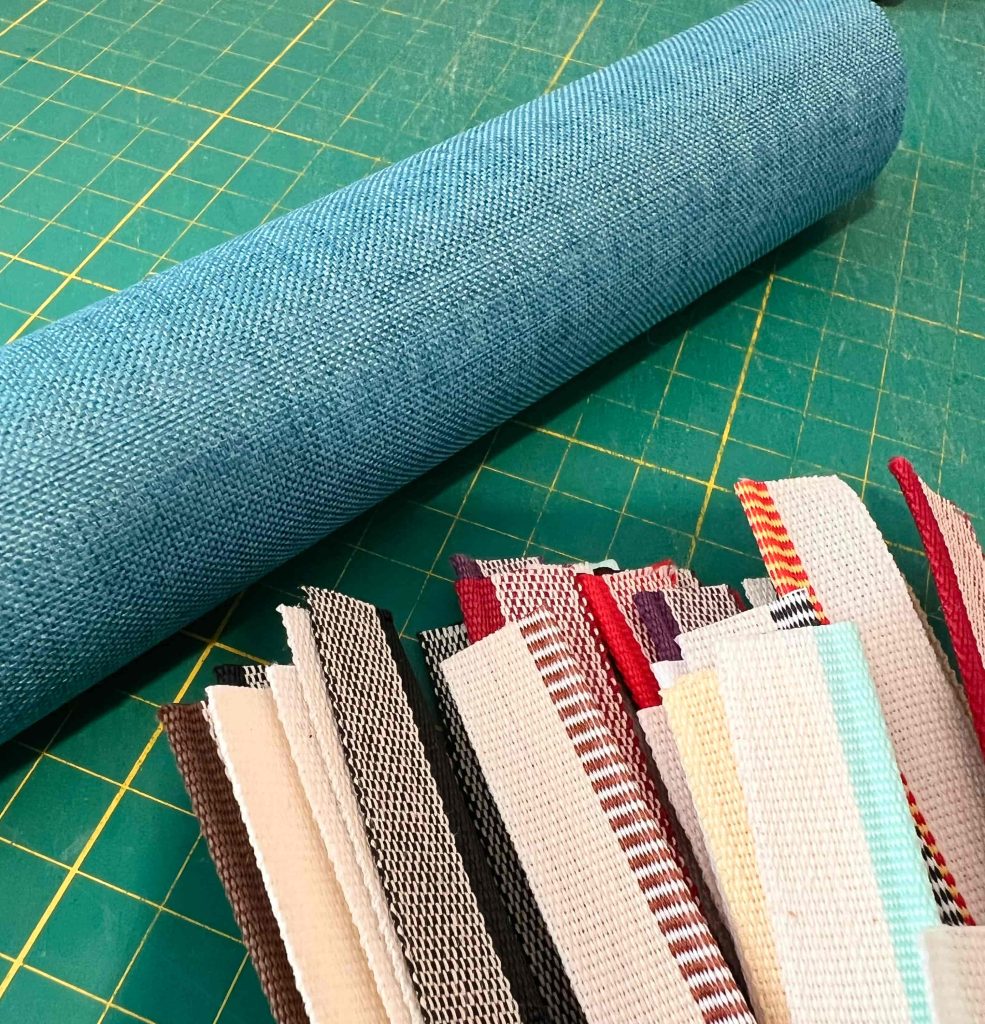
The last stage for today was to glue down the chosen headbands and also add some Kraft paper to the spine to add strength. As I did not have any Kraft paper, I decided to use the hessian that I’d purchased for these projects. Hopefully that will do the same job, but time will tell.
The book is now sat in it’s makeshift stand while it dries throughly overnight.