My First Project (Stage 1)
There’s no better way to learn than to throw yourself into your first project. After careful deliberation, I decided my first project would be transforming an old, well-worn paperback of mine into a beautiful hardback. One to be treasured for generations (perhaps a slight exaggeration!).
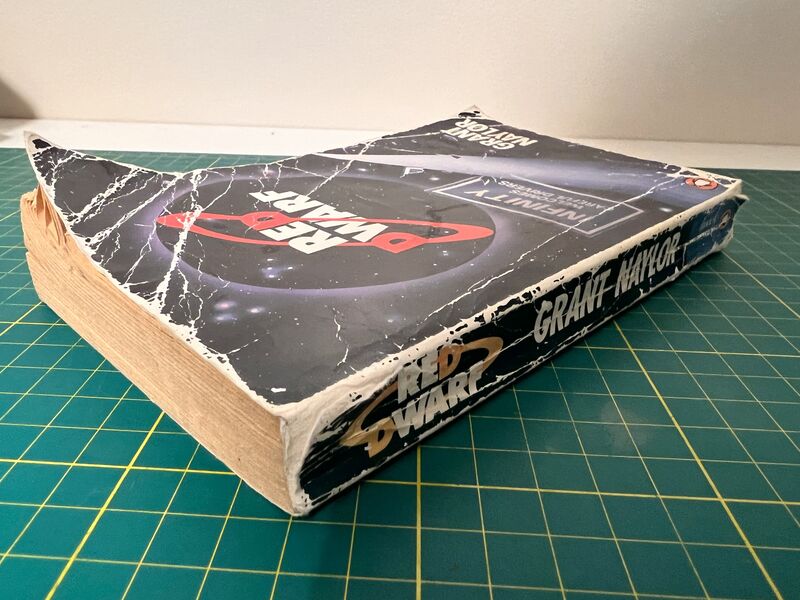
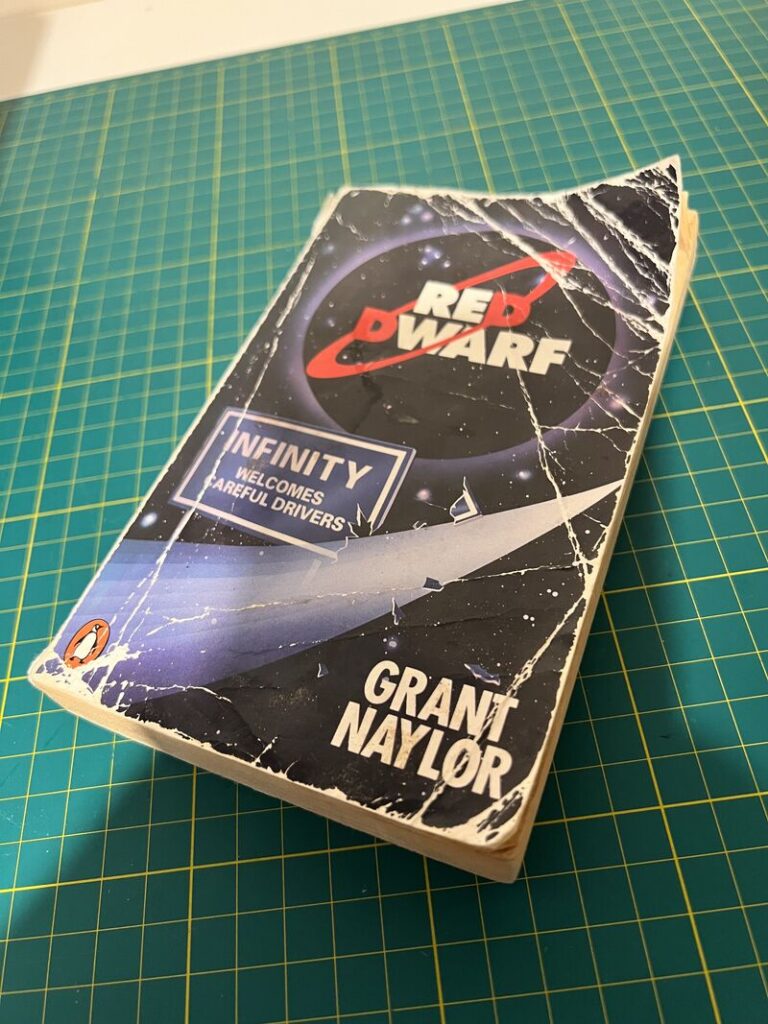
This was the book I chose: an old, battered copy of Red Dwarf: Infinity Welcomes Careful Drivers by Grant Naylor. Chosen not just because it’s a great book, but also because I have two paperback copies!
With my project decided, the next step was figuring out how to actually do it. I have many books on how to make books, but none on how to convert a paperback to a hardback, so I turned to YouTube. I found a brilliant video from a channel called Extra Cozy DIY . The step-by-step instructions were clear and approachable: exactly what I needed as a complete beginner.
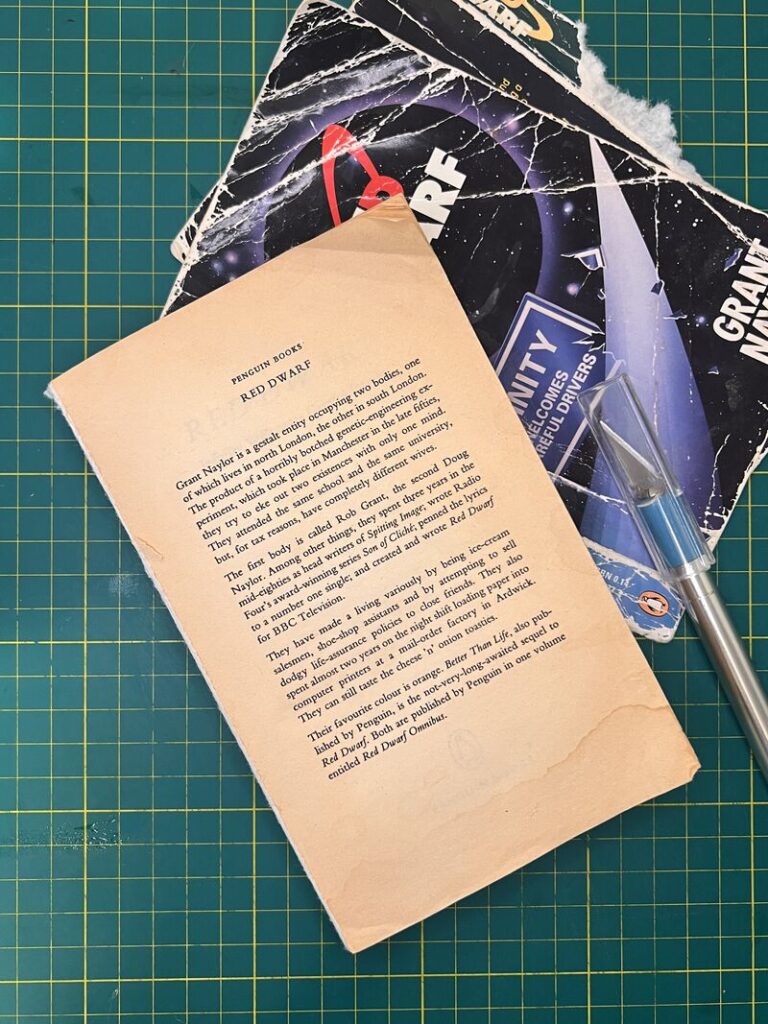
Step one: remove the cover. With one careful cut, I was committed: there would be no going back now.
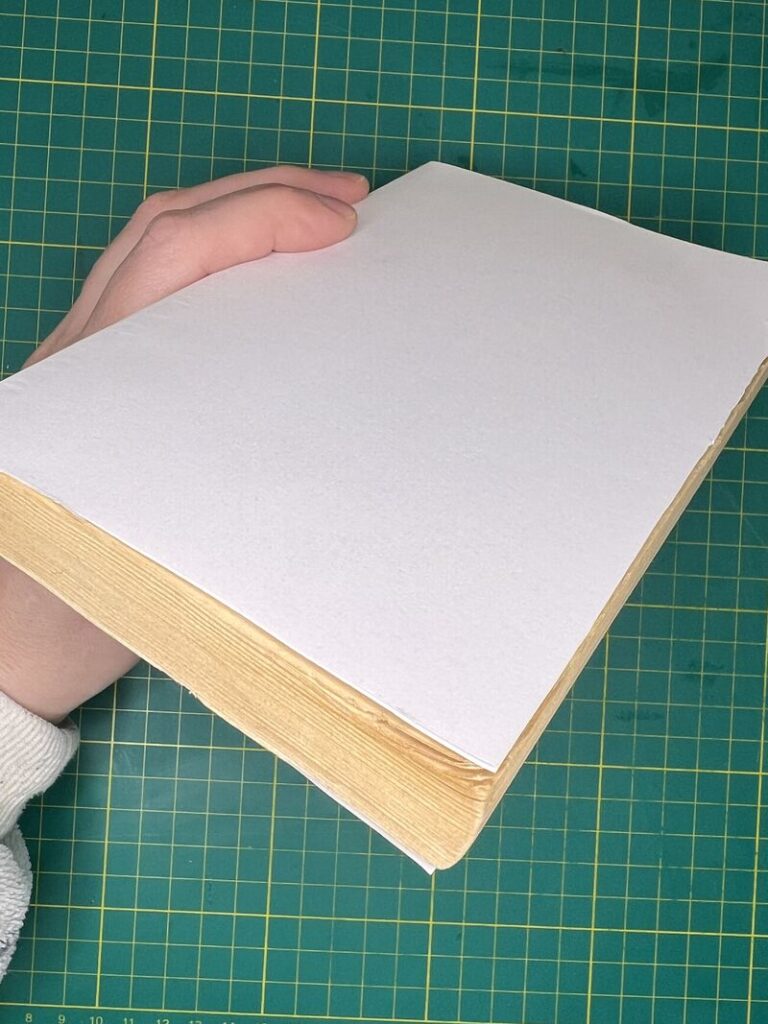
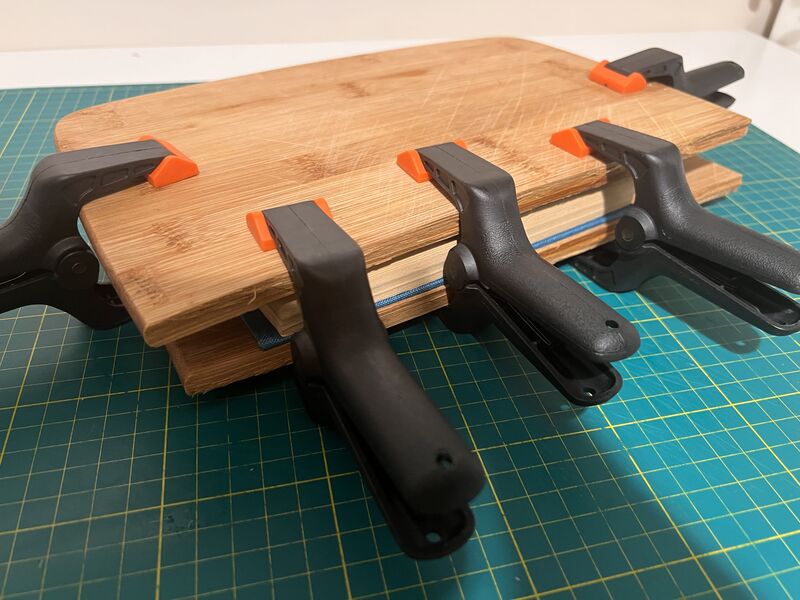
Step two: add new endsheet. Didn’t seem too hard; may need more practice at cutting, but we got there. Now to leave it in a press for an hour. (I don’t have a press as yet, so managed to improvise using wood and clamps.)
This is how it looked after spending just over an hour in the “press”.
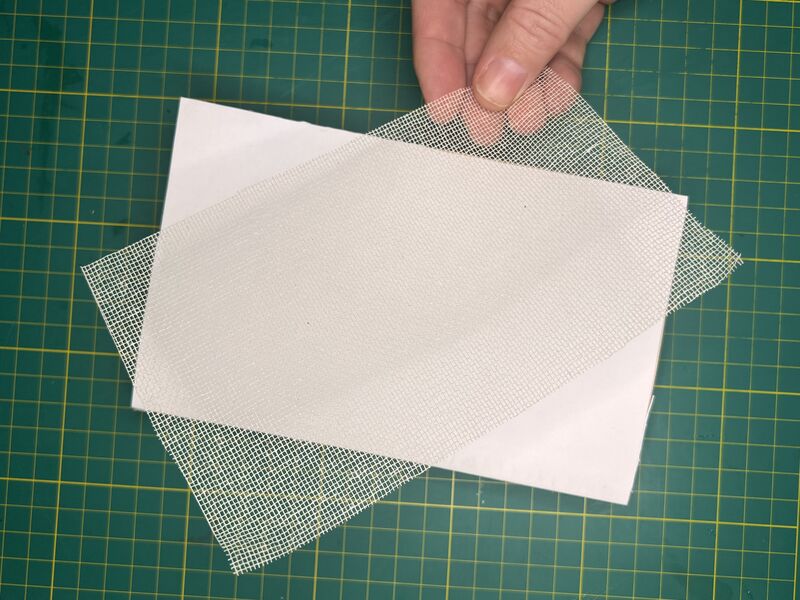
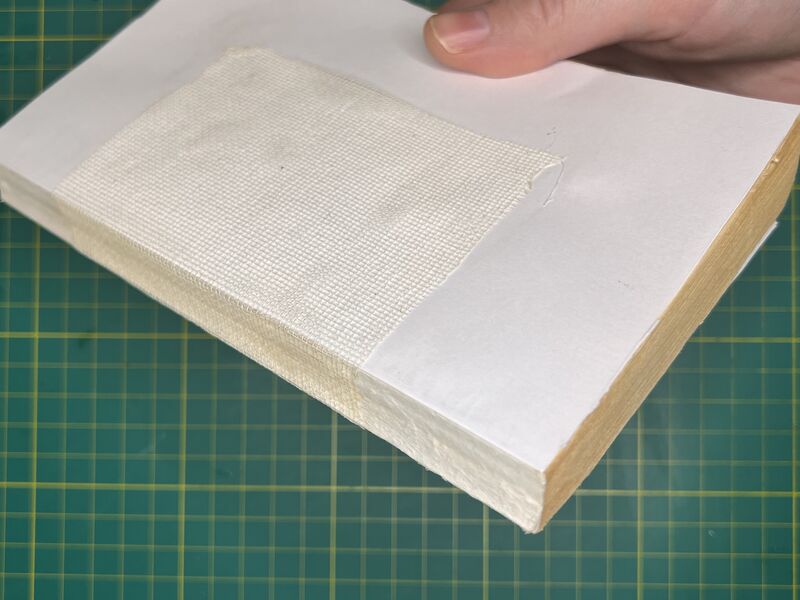
Step three: adding fabric to strengthen the spine. I probably over-glued this one and made a bit of a mess. Luckily it won’t be seen in the end product! Something to remember for next time.
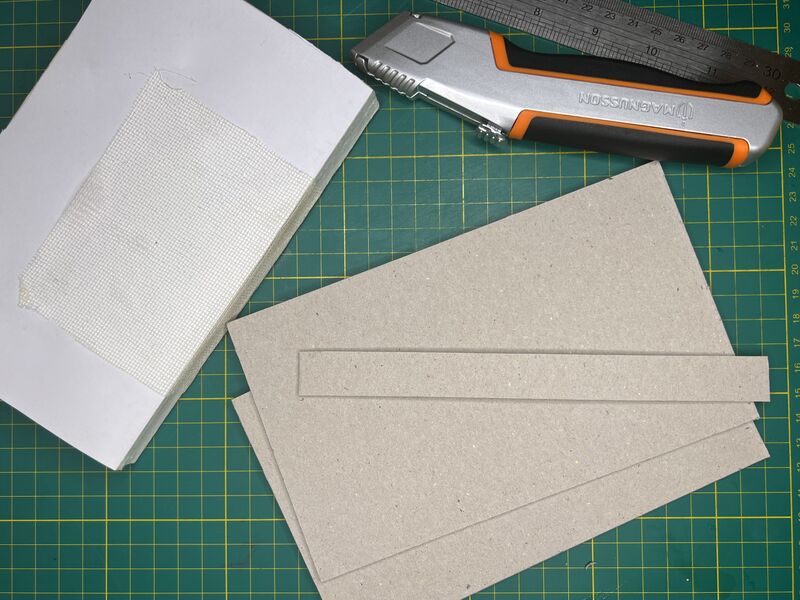
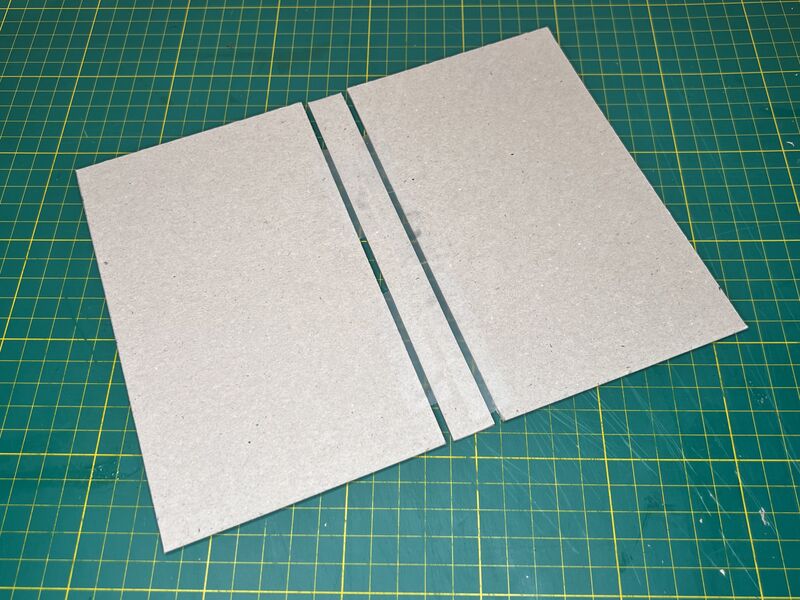
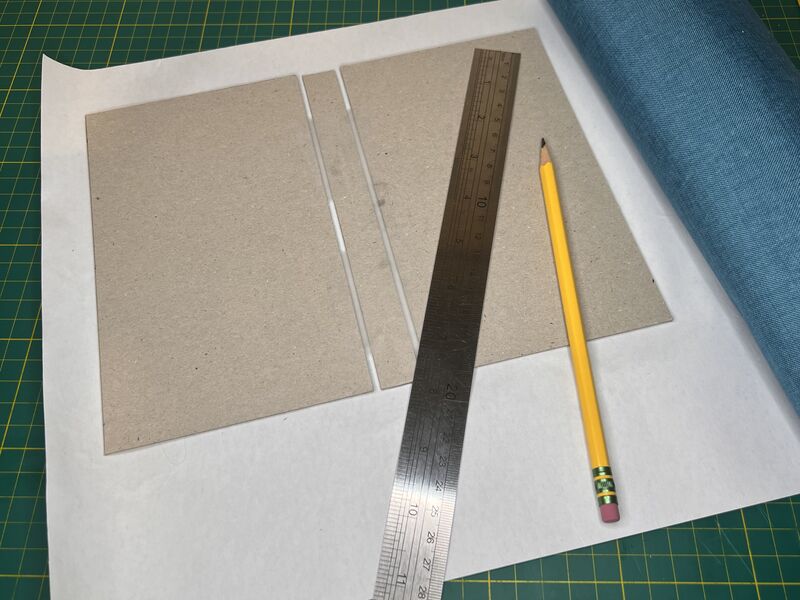
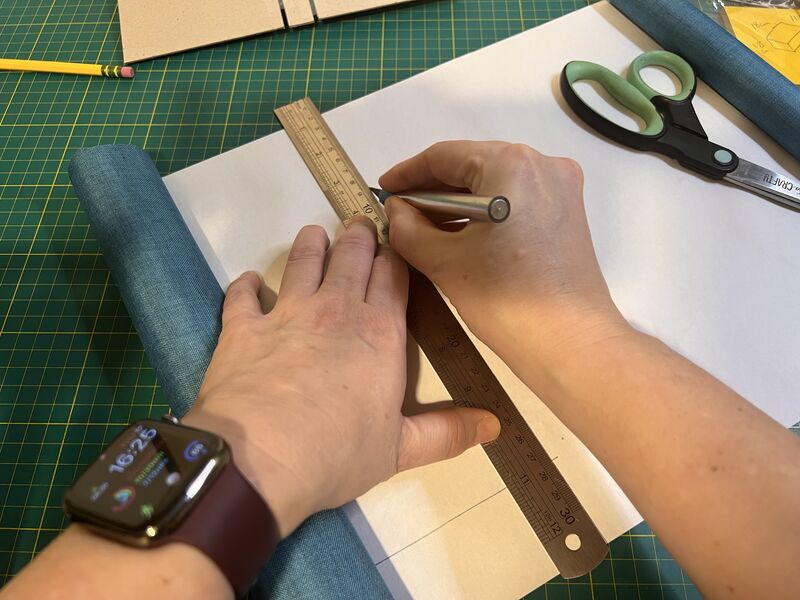
Step four: cutting the boards. I’ll admit, it was a bit fiddly! Getting the measurements just right and keeping everything neat took some patience. That said, I can already see myself improving when it comes to handling a knife and ruler. There’s something really satisfying about seeing each piece come together just right!
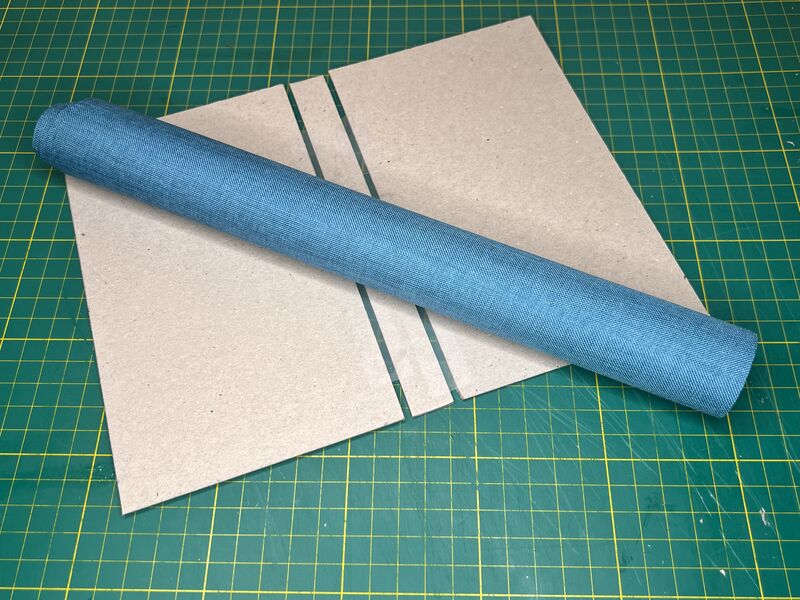
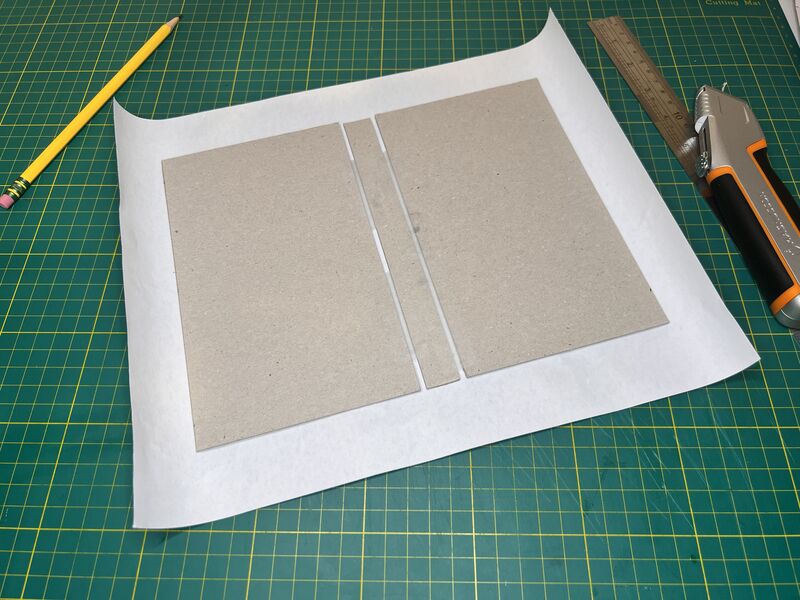
Step five: cutting the fabric and sticking it to the boards. This was incredibly fiddly and I can now see why having some scrap paper underneath the boards when gluing them would have solved the “glue all over my cutting board” issue! That being said, apart from a few choice swear words I managed to get the fabric attached to the boards neatly, without any disasters.
Step six: into the press. I don’t currently own a proper press but have managed to cobble something together that involves two bits of wood and some clamps. Seems to do the job!
That’s all for today. Next time I will continue with the instructions and add some decoration to the cover before attaching it to the book.